MAKING THE NECK - 6
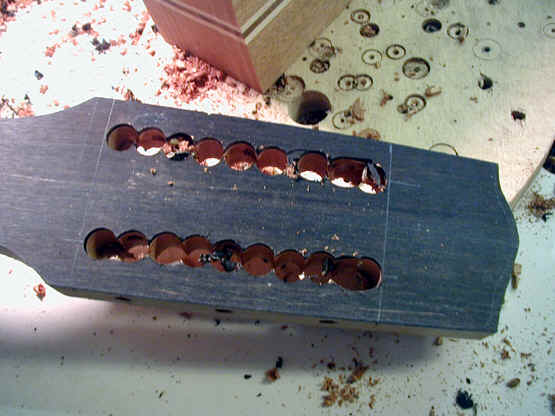
 Earlier I showed the process for drilling the gear holes on a slotted
peghead. Here I am beginning the process of making the slots.
I begin by carefully marking the location of the slot and drill out most
of the waste wood.
Earlier I showed the process for drilling the gear holes on a slotted
peghead. Here I am beginning the process of making the slots.
I begin by carefully marking the location of the slot and drill out most
of the waste wood.
 another view.
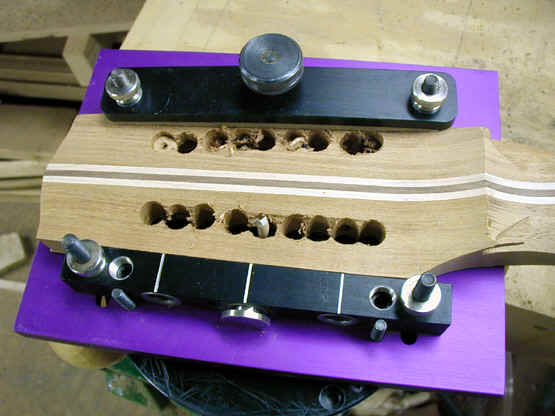 The slots themselves are cut on a router. The purple device is a jig
which holds the peghead and has a slot to run a router in. The
router has a guide bushing to follow the slot in the jig (which comes from
LMI). Quite effective.
The slots themselves are cut on a router. The purple device is a jig
which holds the peghead and has a slot to run a router in. The
router has a guide bushing to follow the slot in the jig (which comes from
LMI). Quite effective.
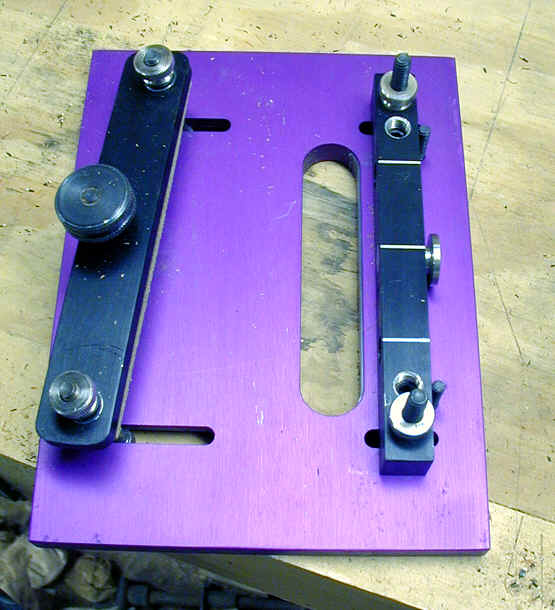 Here is just the jig.
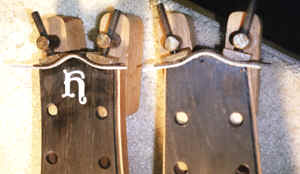
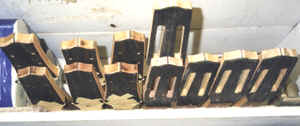 Here is the current batch of necks with the pegheads shaped.
 The
next step is to inlay my trademark H into the peghead. I have the
pearl H prepared by a company (Ellis Pearl Works) which cuts them with a
CNC router. (Frank Ford just put a very interesting piece about his
trip to Tom Ellis' shop on his web site. Look for it HERE.)
This provides great accuracy and uniformity. Tom
Ellis also provided a block of phenolic with the H cut in reverse (see
next photo). this is mounted on the back of the peghead with double
stick tape and acts as the template for a minature pin router I have made
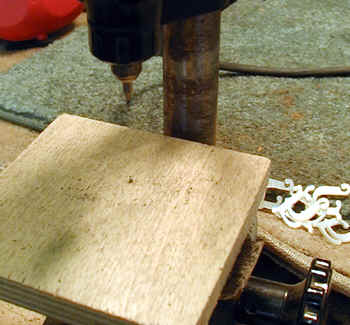
with a Dremmel tool. This photo shows the pin router. You can
see a very small pin set in the table - this is the same exact size as the
cutter, and is directly under it.
The
next step is to inlay my trademark H into the peghead. I have the
pearl H prepared by a company (Ellis Pearl Works) which cuts them with a
CNC router. (Frank Ford just put a very interesting piece about his
trip to Tom Ellis' shop on his web site. Look for it HERE.)
This provides great accuracy and uniformity. Tom
Ellis also provided a block of phenolic with the H cut in reverse (see
next photo). this is mounted on the back of the peghead with double
stick tape and acts as the template for a minature pin router I have made
with a Dremmel tool. This photo shows the pin router. You can
see a very small pin set in the table - this is the same exact size as the
cutter, and is directly under it.
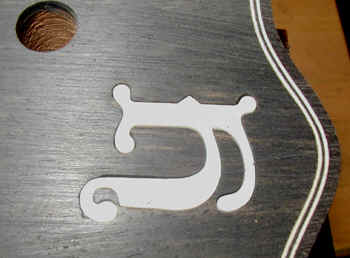
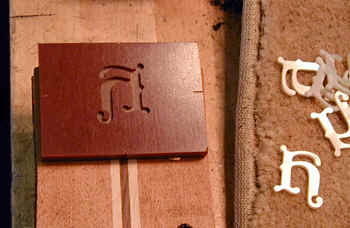 Here is the reverse template with some of the pearl inlays. The
template is mounted on the back of the peghead with double stick tape.
Here is the reverse template with some of the pearl inlays. The
template is mounted on the back of the peghead with double stick tape.
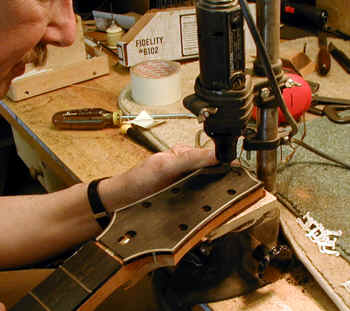 Here
I am cutting the inlay cavity.
Here
I am cutting the inlay cavity.

 The
cavity is done.
The
cavity is done.
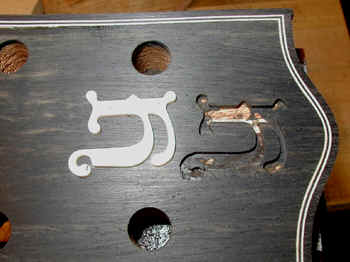
 The
final fit is quite good. Only a small amount to filler is
needed. I use fine ebony dust and cyanoacrolate
glue.
The
final fit is quite good. Only a small amount to filler is
needed. I use fine ebony dust and cyanoacrolate
glue.
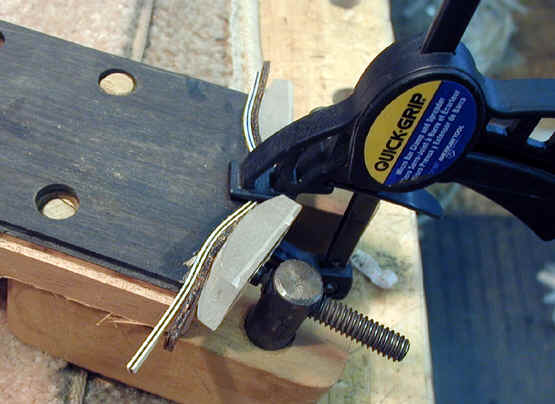
 Here I am beginning to glue in the purfling and binding on the pegheads
- the jigs are homemade. I have used them for 25 years. The
shafts were purchased from a machine shop supply company and have swivel
feet on them. I use a Plexiglas caul shaped to match the curve of
the peghead and the whole process works quite well.
Here I am beginning to glue in the purfling and binding on the pegheads
- the jigs are homemade. I have used them for 25 years. The
shafts were purchased from a machine shop supply company and have swivel
feet on them. I use a Plexiglas caul shaped to match the curve of
the peghead and the whole process works quite well.
 Another view.
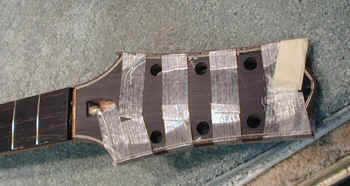
 Clamping the binding at the "neck end" is just a bit of
strapping tape.
Clamping the binding at the "neck end" is just a bit of
strapping tape.
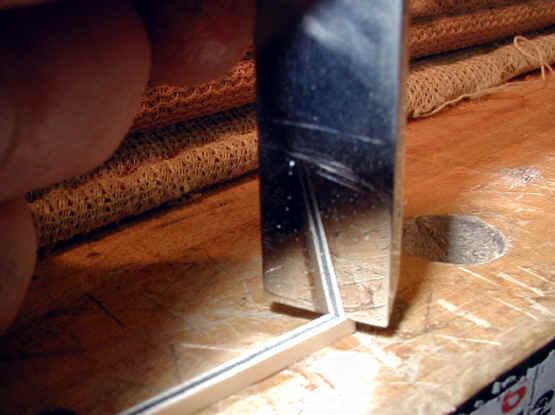
 Cutting the binding miters.
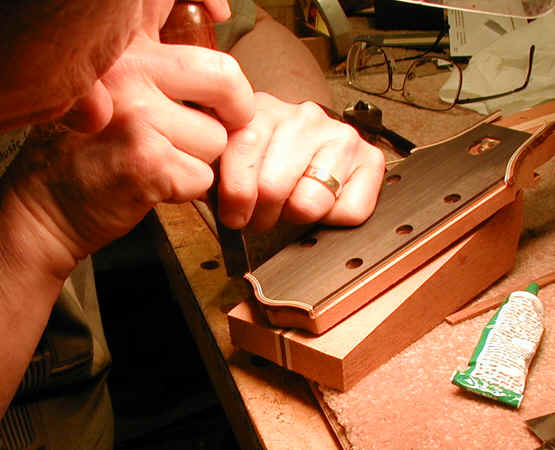
 The easiest way to cut miters accurately on purfling is to use a chisel on
which the back has been polished to a mirror finish. That way you
can see exactly the angle of the cut and can match it to the angle you
need.
The easiest way to cut miters accurately on purfling is to use a chisel on
which the back has been polished to a mirror finish. That way you
can see exactly the angle of the cut and can match it to the angle you
need.
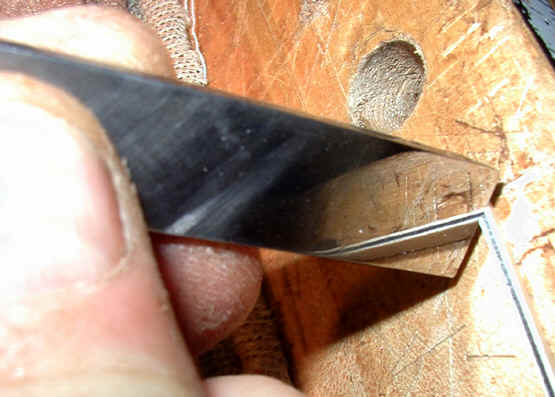 Another view of the same.
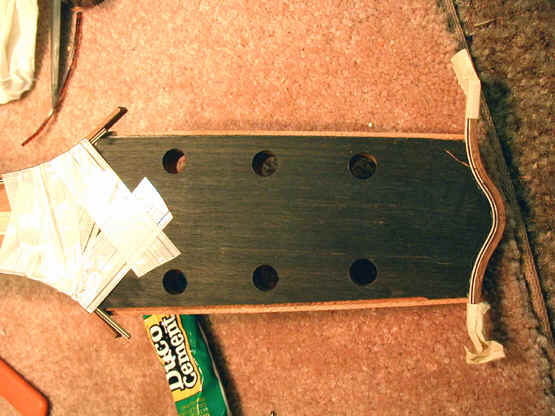
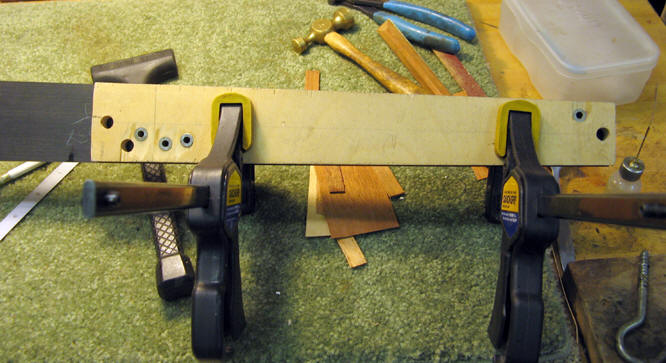 This jig helps to drill locating holes so that the fingerboard is
properly centered and does not slip when gluing.
This jig helps to drill locating holes so that the fingerboard is
properly centered and does not slip when gluing.
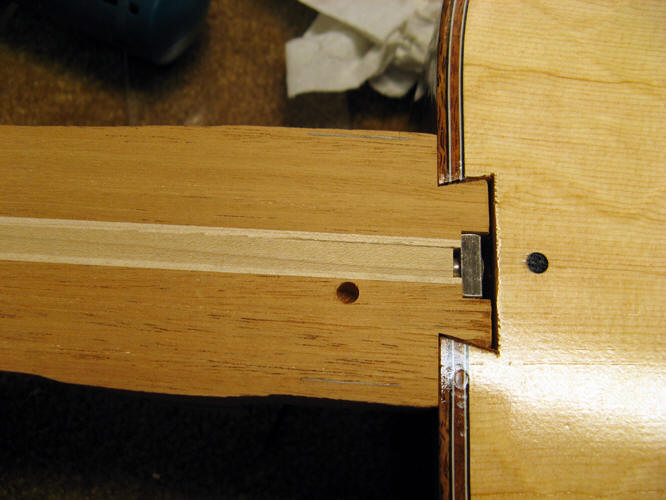 One of the locating holes
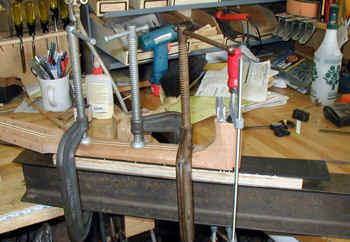 Here the fingerboard is being glued to the neck. I always use
lots of clamps!! The fingerboard lies in a jig which matches the
arch of the board and is cut out for the frets. This way there is
no pressure applied to the frets and the fingerboard is held perfectly
straight. The whole apparatus is put on the straight steel I beam
we keep in the shop (see, Tools
I have Made) and the clamps are applied. This ensures that the
neck is glued up perfectly straight.
Here the fingerboard is being glued to the neck. I always use
lots of clamps!! The fingerboard lies in a jig which matches the
arch of the board and is cut out for the frets. This way there is
no pressure applied to the frets and the fingerboard is held perfectly
straight. The whole apparatus is put on the straight steel I beam
we keep in the shop (see, Tools
I have Made) and the clamps are applied. This ensures that the
neck is glued up perfectly straight.
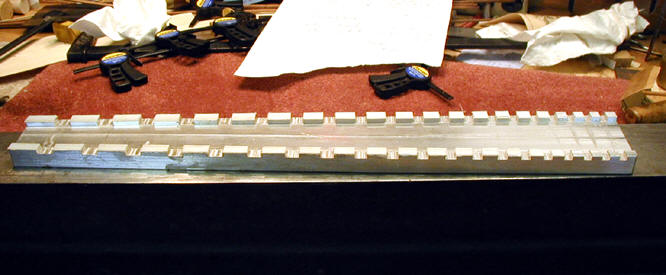 The caul I currently use for gluing fingerboards is made of aluminum -
it was made by my friend Frank Ford.
The caul I currently use for gluing fingerboards is made of aluminum -
it was made by my friend Frank Ford.
This website and all of its content, text and images are copyright ©1997-2011 by Charles A. Hoffman. All rights reserved.