MAKING THE TOP -- 2
BRACING THE TOP
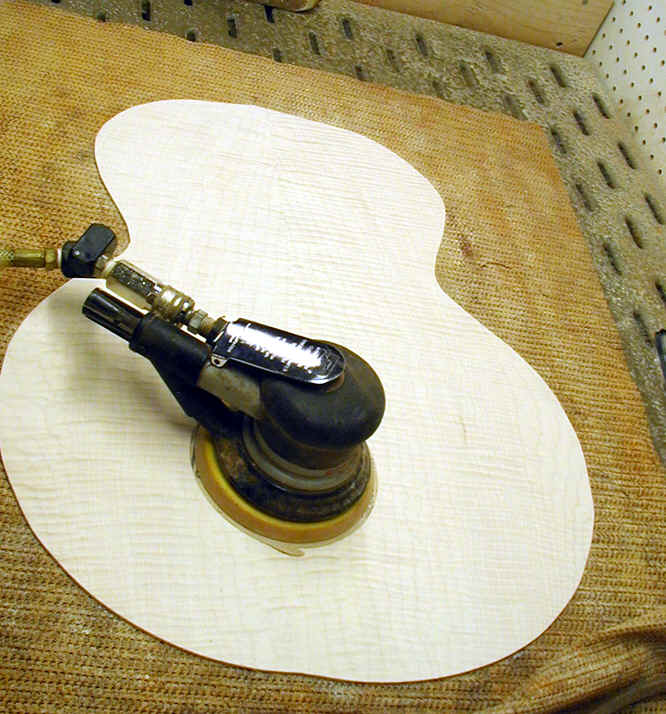 The top is final sanded before it is braced up. The photo here is of
a maple back but the concept is the same.
The top is final sanded before it is braced up. The photo here is of
a maple back but the concept is the same.
 The first step in the bracing is to prepare the X braces. After cutting the
quartersawn stock to the correct dimension (in my case 5/16 wide by 5/8
tall) I cut the slots for the X joint. I do this with a simple
jig that holds the braces and guides a router to cut the slots.
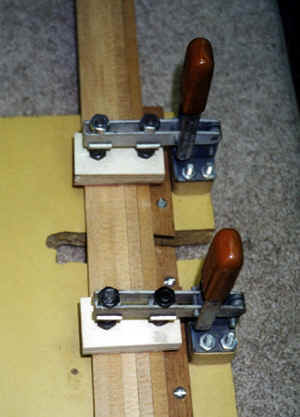
This photo shows the underside of the jig and the clamps which are
used to hold the braces. If you count you will see 5 pieces
of wood. The last one is a sacrificial piece to prevent the router
from chipping out the edge of the brace.
The first step in the bracing is to prepare the X braces. After cutting the
quartersawn stock to the correct dimension (in my case 5/16 wide by 5/8
tall) I cut the slots for the X joint. I do this with a simple
jig that holds the braces and guides a router to cut the slots.
This photo shows the underside of the jig and the clamps which are
used to hold the braces. If you count you will see 5 pieces
of wood. The last one is a sacrificial piece to prevent the router
from chipping out the edge of the brace.
 This photo shows the top of the jig (it is bolted to a workbench
when in use). The operative part is the piece of maple on the left
side of the photo. This is mounted at the correct angle to produce
the angle I like for my X braces, and is the guide for the router.
When making this jig I established the location of this piece by pure
trial and error. I am content to leave it at this angle for all
of my guitars. I believe -- without any scientific evidence -- that
the included angle of the X brace is one of the important elements in
determining the sound of a makers guitars, and feel that this leads to
at least part of the "signature sound" of my guitars.
This photo shows the top of the jig (it is bolted to a workbench
when in use). The operative part is the piece of maple on the left
side of the photo. This is mounted at the correct angle to produce
the angle I like for my X braces, and is the guide for the router.
When making this jig I established the location of this piece by pure
trial and error. I am content to leave it at this angle for all
of my guitars. I believe -- without any scientific evidence -- that
the included angle of the X brace is one of the important elements in
determining the sound of a makers guitars, and feel that this leads to
at least part of the "signature sound" of my guitars.
 Just a pile of completed X braces. After the X joint is machined
I do a rough shaping of the brace on my spindle shaper. This is
not intended to be the final shape, but does reduce the time and effort
in the hand carving which takes place after the braces are glued to the
top.
Just a pile of completed X braces. After the X joint is machined
I do a rough shaping of the brace on my spindle shaper. This is
not intended to be the final shape, but does reduce the time and effort
in the hand carving which takes place after the braces are glued to the
top.
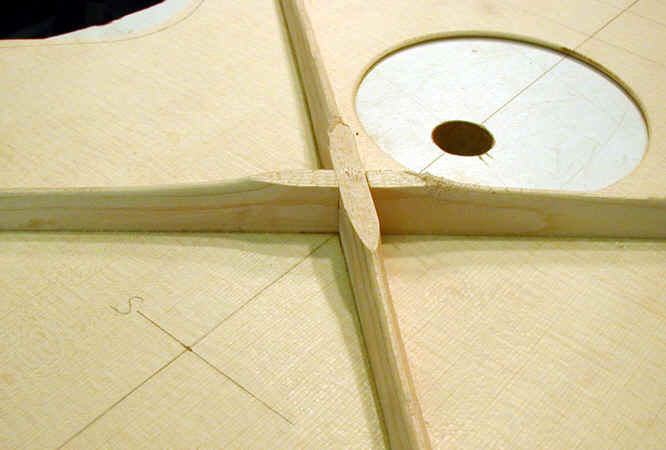
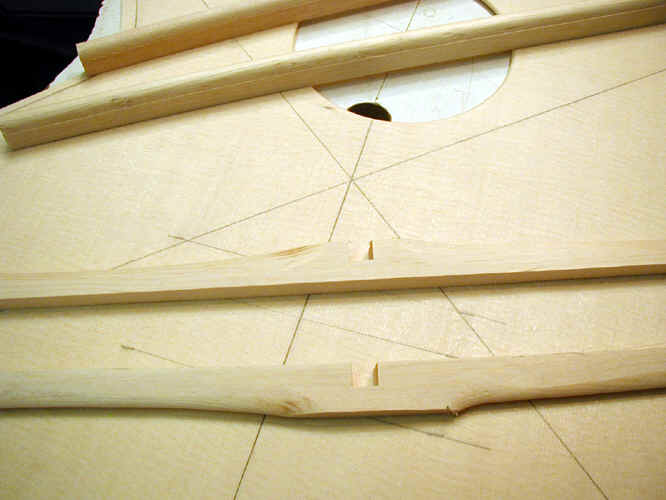 Closer view of the notch and some of the shaping on the X brace.
 Another view of the rough brace. At this point this is all machine
work - the hand shaping to refine the shape (and hopefully the sound)
comes after the braces are glued to the top.
Another view of the rough brace. At this point this is all machine
work - the hand shaping to refine the shape (and hopefully the sound)
comes after the braces are glued to the top.
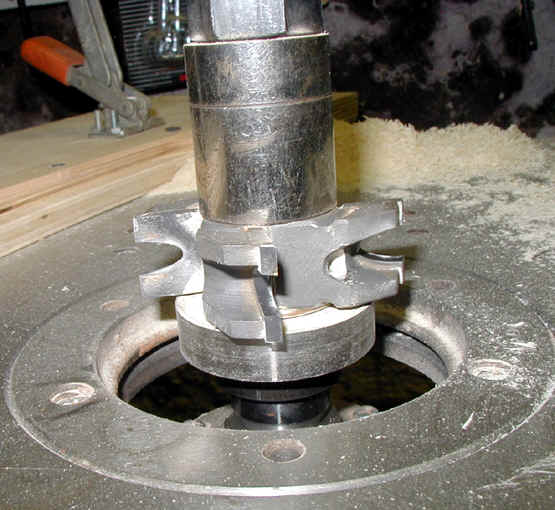 This is the cutter for my spindle shaper which I use to rough out many of
my braces.
This is the cutter for my spindle shaper which I use to rough out many of
my braces.
 This jig holds the brace - the ball bearing under the cutter follows the
front edge of the jig and cuts the brace in the scalloped shape I want.
This jig holds the brace - the ball bearing under the cutter follows the
front edge of the jig and cuts the brace in the scalloped shape I want.
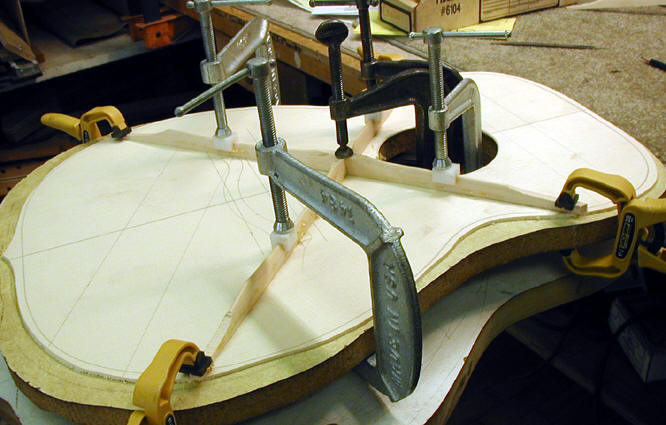
 Here I am gluing the X brace on one of the harp
guitars. Because this is a very unusual project, the braces
are installed before any carving is done, and I will carve these to shape
after the glue is dry. Several years ago I started using hot hide glue to put together the top,
including all the top braces. Of course this is the method used
"in olden days" and there is some
reason to believe this may have a positive effect on the sound, and will
have no negative effects on the durability of the guitar.
Here I am gluing the X brace on one of the harp
guitars. Because this is a very unusual project, the braces
are installed before any carving is done, and I will carve these to shape
after the glue is dry. Several years ago I started using hot hide glue to put together the top,
including all the top braces. Of course this is the method used
"in olden days" and there is some
reason to believe this may have a positive effect on the sound, and will
have no negative effects on the durability of the guitar.
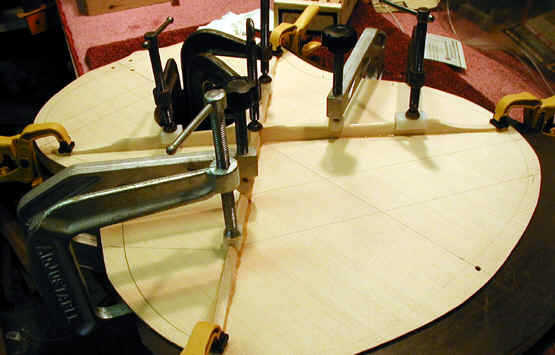
 another view of the same.
 Similar
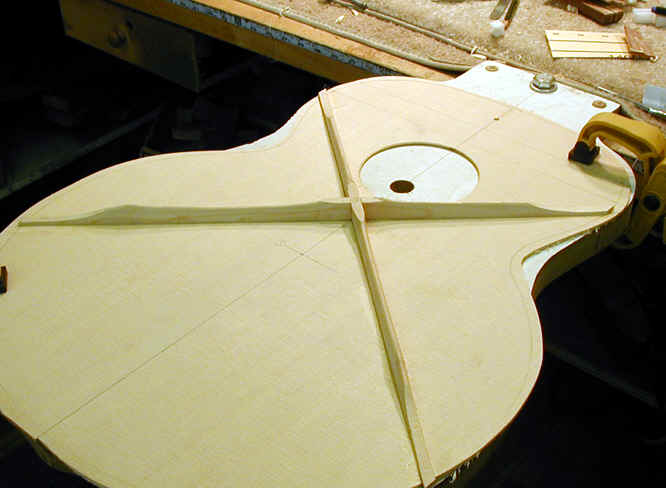
step on a regular top. As you can see, the X
brace is partly shaped before gluing. I do this on my spindle shaper.
This is really a time saver rather than final shaping, since I do some
carving after the braces are glued in place. Although the photo
doesn't show it well, there is a Plexiglas caul over the intersection
of the X brace which has channels cut that hold the X in exactly the right
shape. While I cannot prove it empirically, it is my opinion that
the angle of the X and its location on the top have a great deal to do
with the sound of the guitar. As a result, in order to maintain
my "signature sound", I control this element very carefully.
Similar
step on a regular top. As you can see, the X
brace is partly shaped before gluing. I do this on my spindle shaper.
This is really a time saver rather than final shaping, since I do some
carving after the braces are glued in place. Although the photo
doesn't show it well, there is a Plexiglas caul over the intersection
of the X brace which has channels cut that hold the X in exactly the right
shape. While I cannot prove it empirically, it is my opinion that
the angle of the X and its location on the top have a great deal to do
with the sound of the guitar. As a result, in order to maintain
my "signature sound", I control this element very carefully.
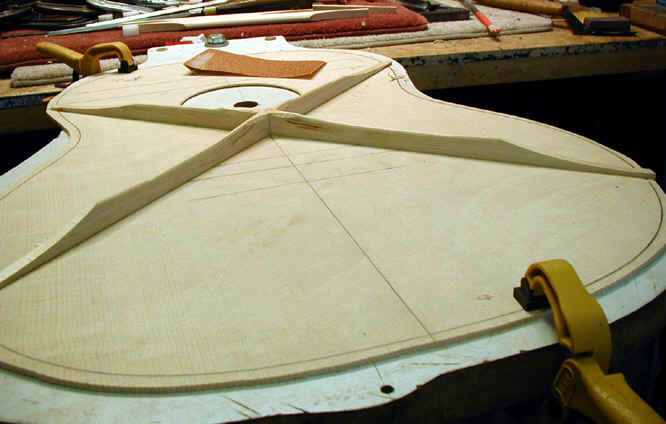
 The X brace is glued in place and roughly shaped. This
brace is now ready for carving.
As noted above I have been using hot hide glue for several years - I am
convinced that it does help the sound of my guitars.
The X brace is glued in place and roughly shaped. This
brace is now ready for carving.
As noted above I have been using hot hide glue for several years - I am
convinced that it does help the sound of my guitars.
 More
of the same.
More
of the same.
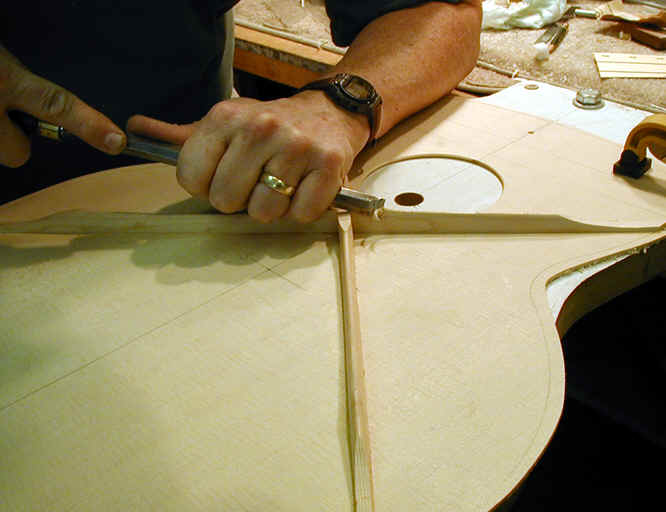 Some final shaping of the braces, which will be followed by sanding to a
220 grit.
Some final shaping of the braces, which will be followed by sanding to a
220 grit.
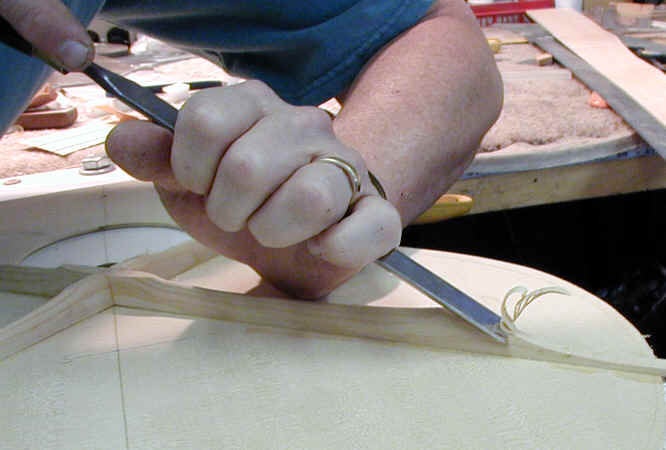 More of the same.
This website and all of its content, text and images are copyright ©1997-2011 by Charles A. Hoffman. All rights reserved.