MAKING THE NECK -- 1
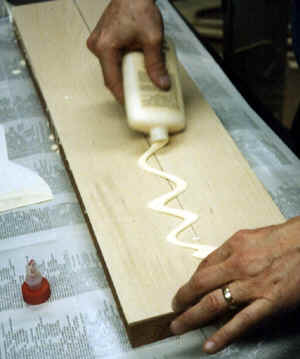
 This is the beginning of making my neck blanks. I start with
a piece of mahogany that is 3" thick (technically, it is 12/4 rough
stock), 4" wide and 28 " long. It is cut in the center
and the sides are reversed. This means that any tendency of the
wood to warp in one direction will be countered by the two pieces moving
in different directions, not the same direction. In fact, mahogany
is very stable and this is not much of a problem. The pieces are
run over a jointer to get a perfectly flat surface and then run
through a planer to make each piece parallel and of equal thickness.
I spread glue over the matching faces and then add the first of the laminations.
This is the beginning of making my neck blanks. I start with
a piece of mahogany that is 3" thick (technically, it is 12/4 rough
stock), 4" wide and 28 " long. It is cut in the center
and the sides are reversed. This means that any tendency of the
wood to warp in one direction will be countered by the two pieces moving
in different directions, not the same direction. In fact, mahogany
is very stable and this is not much of a problem. The pieces are
run over a jointer to get a perfectly flat surface and then run
through a planer to make each piece parallel and of equal thickness.
I spread glue over the matching faces and then add the first of the laminations.
 Here, the two pieces of 1/8" maple have been added and glue
is applied again.
Here, the two pieces of 1/8" maple have been added and glue
is applied again.
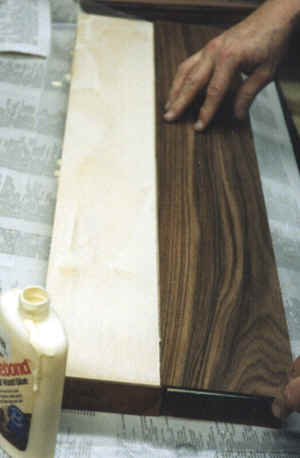 Here the center piece of 1/8" rosewood is added.
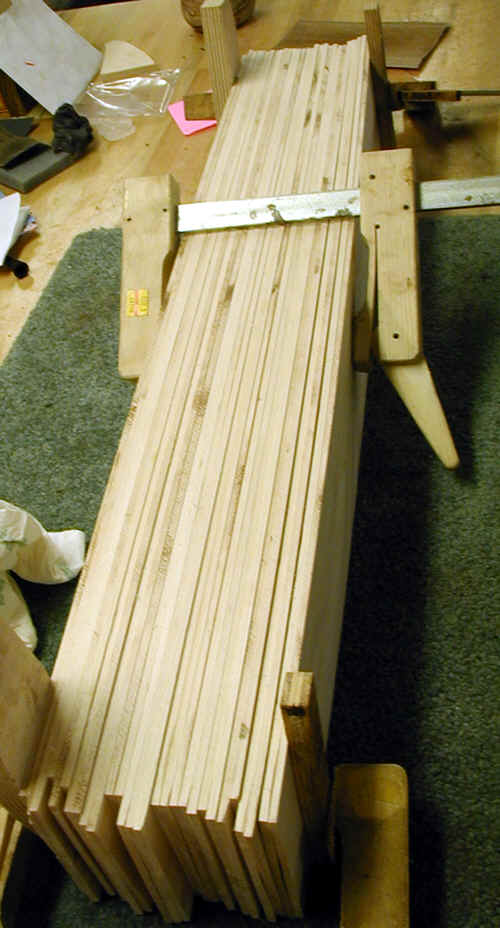
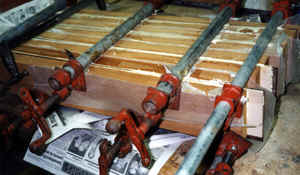 After several of these laminated blocks have been glued, I clamp
them up. I find that I can glue up about 4 blocks before clamping
without running into problems with the glue setting prematurely.
After several of these laminated blocks have been glued, I clamp
them up. I find that I can glue up about 4 blocks before clamping
without running into problems with the glue setting prematurely.
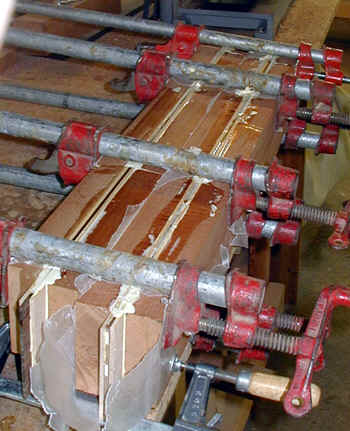 another photo of the glue up.

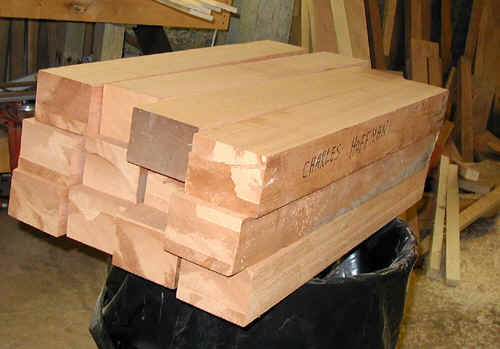
 After cleaning up the glue that squeezed out, the blocks are ready
to cut the necks out.
After cleaning up the glue that squeezed out, the blocks are ready
to cut the necks out.
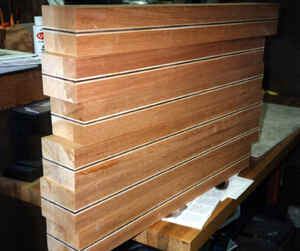
 Each block will result in two neck blanks. I used to use 4"
thick mahogany and would not have to glue ears on the peghead. These
days, due to the cost and concern with availability of mahogany, I use
the 3" and plan to glue small ears onto the peghead to accommodate
the width of my peghead shape. Each neck gets its "ears"
from the block it came from so the wood matches well.
Each block will result in two neck blanks. I used to use 4"
thick mahogany and would not have to glue ears on the peghead. These
days, due to the cost and concern with availability of mahogany, I use
the 3" and plan to glue small ears onto the peghead to accommodate
the width of my peghead shape. Each neck gets its "ears"
from the block it came from so the wood matches well.

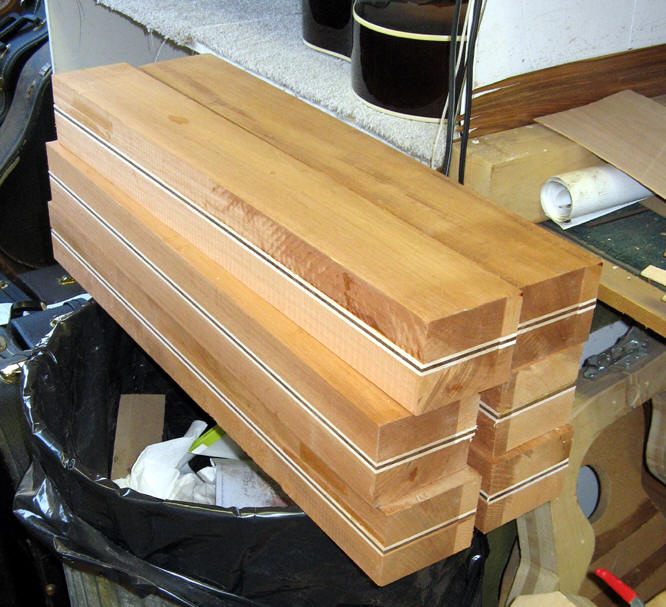
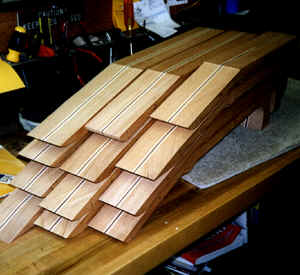 A stack of neck blanks!!
This website and all of its content, text and images are copyright ©1997-2011 by Charles A. Hoffman. All rights reserved.