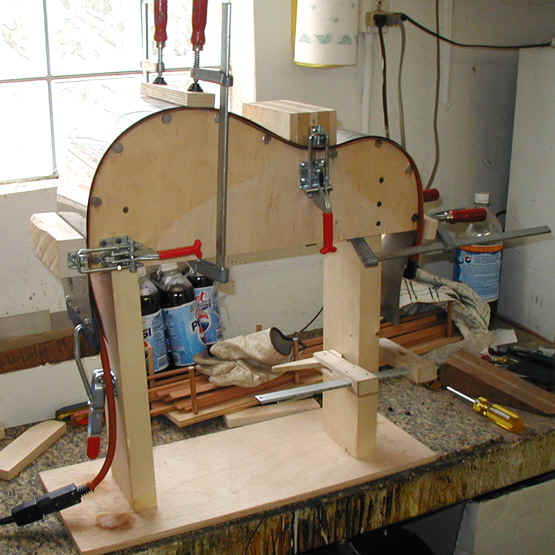
MAKING THE RIBS
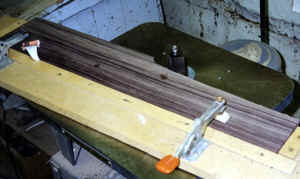 I shape the ribs for the contour of the back before I bend them.
I do this with a simple jig and the spindle shaper. Although this
is common (I know that Martin does this for many if not all of its guitars)
it is by no means the only way. Jim Olson trims the ribs to contour
after they have been bent and the end blocks are installed. The
advantage of my method is that the tool for shaping the ribs is much simpler
than Jim's, while the disadvantage is that I must be much more precise
in how I bend the sides. This works for me, but is by no means the
only way.
I shape the ribs for the contour of the back before I bend them.
I do this with a simple jig and the spindle shaper. Although this
is common (I know that Martin does this for many if not all of its guitars)
it is by no means the only way. Jim Olson trims the ribs to contour
after they have been bent and the end blocks are installed. The
advantage of my method is that the tool for shaping the ribs is much simpler
than Jim's, while the disadvantage is that I must be much more precise
in how I bend the sides. This works for me, but is by no means the
only way.
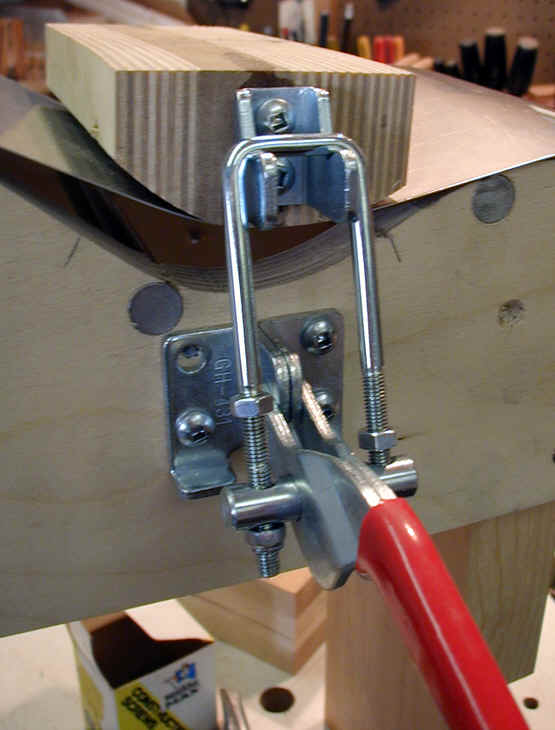
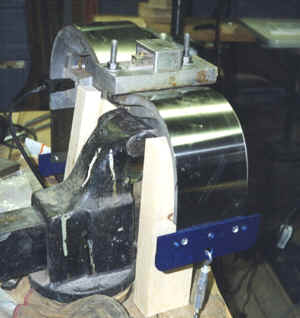 This is another view of the side bending jig, which is based on an
old Overholzer aluminum heated bending mold. I use a metal strap
on the top to keep the wood from cupping while it is drying, and use a
turnbuckle to apply tension. I soak the wood in water (but it does
not need to be hot water) for about 10 minutes while I am heating the
mold, and heat the rib for 10 minutes after it is bent. I then let
it cool to room temperature by itself and it comes off the mold with no
(or very little) springback and well formed. The only time I need
to be particularly careful with this jig is when bending highly figured
wood like Koa, which can break on the figure if I do not work slowly.
An important "trick" for Koa is very little water. Koa
sides are in the water for perhaps 30 seconds, max.
This is another view of the side bending jig, which is based on an
old Overholzer aluminum heated bending mold. I use a metal strap
on the top to keep the wood from cupping while it is drying, and use a
turnbuckle to apply tension. I soak the wood in water (but it does
not need to be hot water) for about 10 minutes while I am heating the
mold, and heat the rib for 10 minutes after it is bent. I then let
it cool to room temperature by itself and it comes off the mold with no
(or very little) springback and well formed. The only time I need
to be particularly careful with this jig is when bending highly figured
wood like Koa, which can break on the figure if I do not work slowly.
An important "trick" for Koa is very little water. Koa
sides are in the water for perhaps 30 seconds, max.
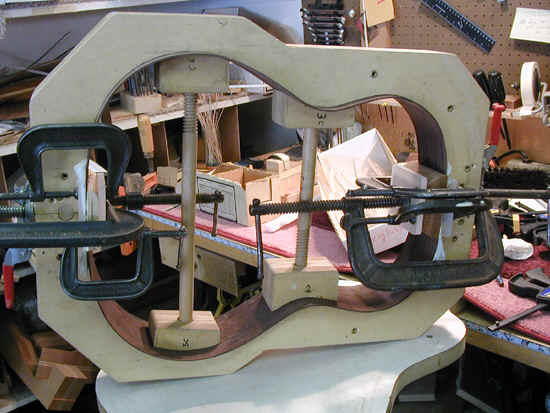
 For
shapes other than the D and Concert shape, where I do not have an
aluminum bending form, I make these, which are a modification of the Fox
bending form. I make a good template from Baltic Birch plywood and
join them with these steel rods. The shape is slightly exaggerated
- slightly more bend at the waist and at either end - this helps
accommodate any springback.
For
shapes other than the D and Concert shape, where I do not have an
aluminum bending form, I make these, which are a modification of the Fox
bending form. I make a good template from Baltic Birch plywood and
join them with these steel rods. The shape is slightly exaggerated
- slightly more bend at the waist and at either end - this helps
accommodate any springback.
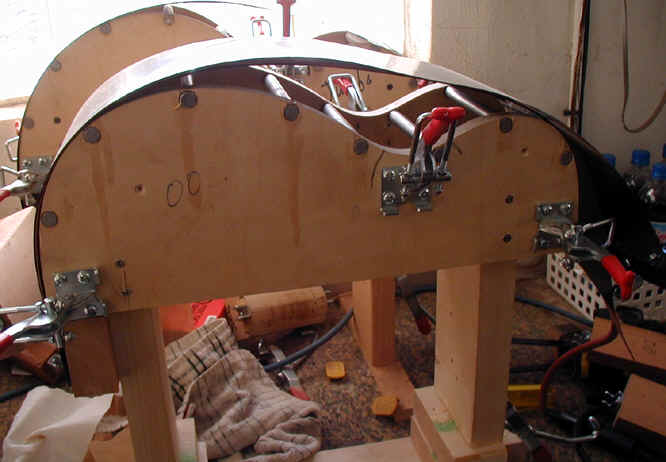 The
forms are then set up with spring steel slats (which I buy from Graingers)
and a heating blanket (from LMI) and a variety of clamps to hold
everything. The following photos should make all this clear.
The
forms are then set up with spring steel slats (which I buy from Graingers)
and a heating blanket (from LMI) and a variety of clamps to hold
everything. The following photos should make all this clear.
 There is a spring steel slat under the blanket and one on top of the
wood. As with my other bending jigs, this helps to prevent side
-to-side cupping of the wood.
There is a spring steel slat under the blanket and one on top of the
wood. As with my other bending jigs, this helps to prevent side
-to-side cupping of the wood.
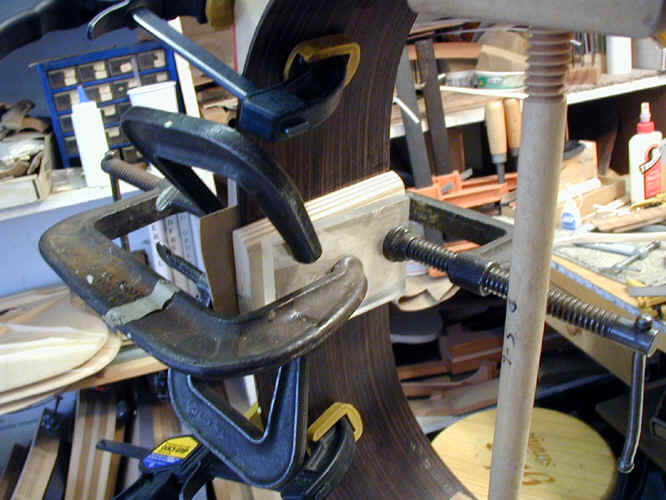
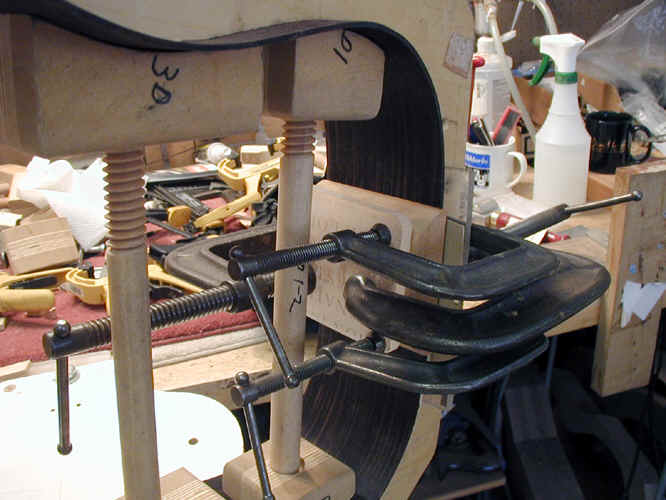
 Here all the clamps are in place. Since this photo was taken I
have stopped using a clamp on the middle of the lower bout, as shown
here. I found that it tended to "kink" the wood and prevent a
really smooth bend.
Here all the clamps are in place. Since this photo was taken I
have stopped using a clamp on the middle of the lower bout, as shown
here. I found that it tended to "kink" the wood and prevent a
really smooth bend.
 This is the clamping arrangement for the waist.
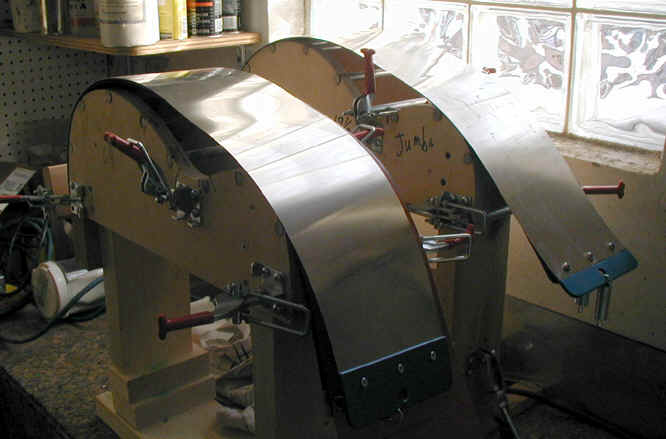
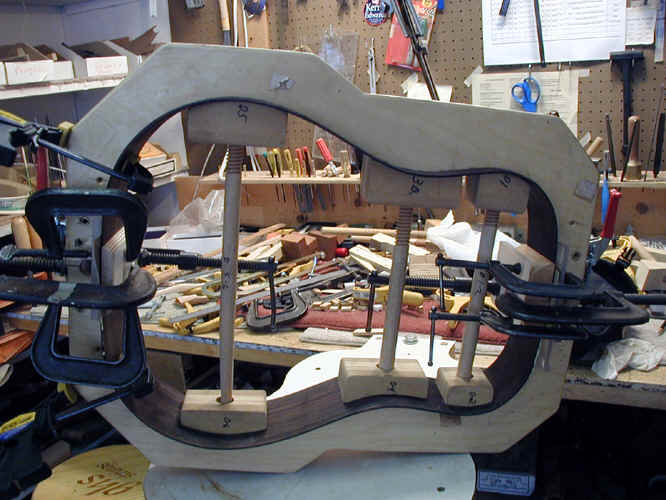
 Here the end blocks are being glued in place.
 More
of the same
More
of the same
 and again.
 Both end blocks fully clamped.
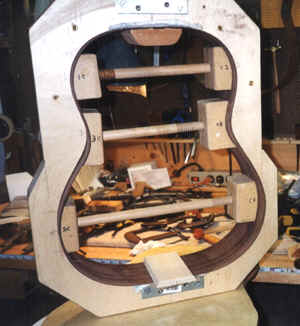 At this point the ribs are ready for the next steps. I will
next cut the dovetail and the slot for the decorative wedge at the tail
block. Then the linings will
be installed.
At this point the ribs are ready for the next steps. I will
next cut the dovetail and the slot for the decorative wedge at the tail
block. Then the linings will
be installed.
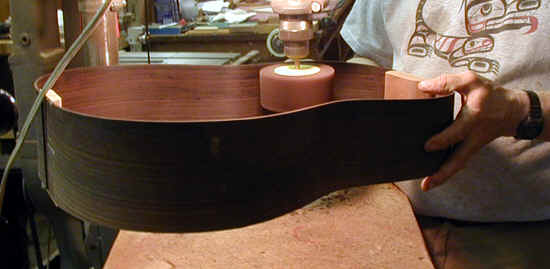 I
use a flap sander in my drill press to sand the insides of the
ribs.
I
use a flap sander in my drill press to sand the insides of the
ribs.
 This photo shows the router and the jig for cutting the end graft
cavity. The follower on the router follows the edges of the
jig. Looks a bit crude, and it is, but it works well.
This photo shows the router and the jig for cutting the end graft
cavity. The follower on the router follows the edges of the
jig. Looks a bit crude, and it is, but it works well.
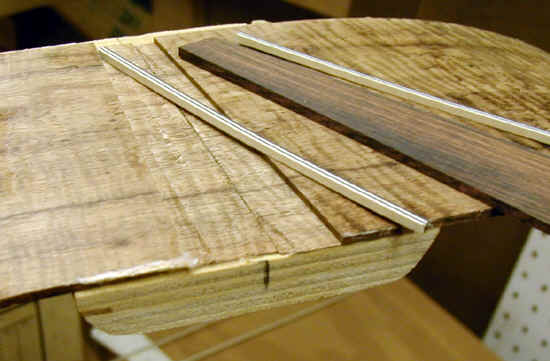 Here
is the cavity for the end graft with the pieces about to be glued
in.
Here
is the cavity for the end graft with the pieces about to be glued
in.
 Another of the same thing.
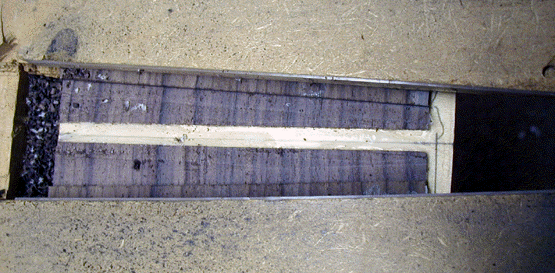
 A
bunch of end grafts glued and clamped.
A
bunch of end grafts glued and clamped.
This website and all of its content, text and images are copyright ©1997-2011 by Charles A. Hoffman. All rights reserved.